Windows Image Backup
Insert your portable USB drive into a free USB port. If you have USB 3 port (marked SS Super-Speed and blue inside) use this in preference to a USB 2 port to get a much faster backup.
Windows 10
Click Start button (Bottom LH corner) and select Settings Cog just above Power icon. In Settings select “Update Security” > “Backup” > “Go to backup and Restore (Windows 7) “. This will bring up the “Backup or restore” window below.
Windows 7
Click the Windows 7 Start button (bottom left corner) and type “backup” in the search text box. Select “Backup & Restore” from the results list to bring up the “Back up or restore” window below.
Backup and Restore Window
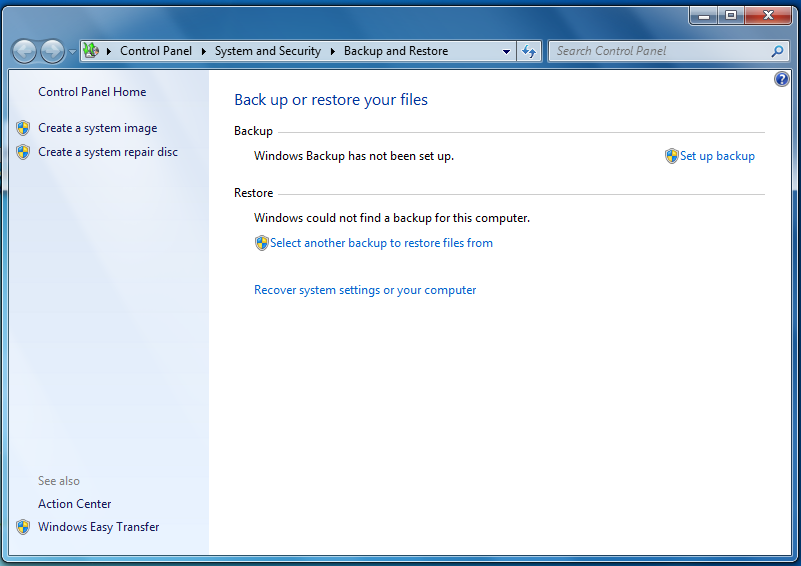
Under Control Panel Home click on “Create a system image” to bring up the next window
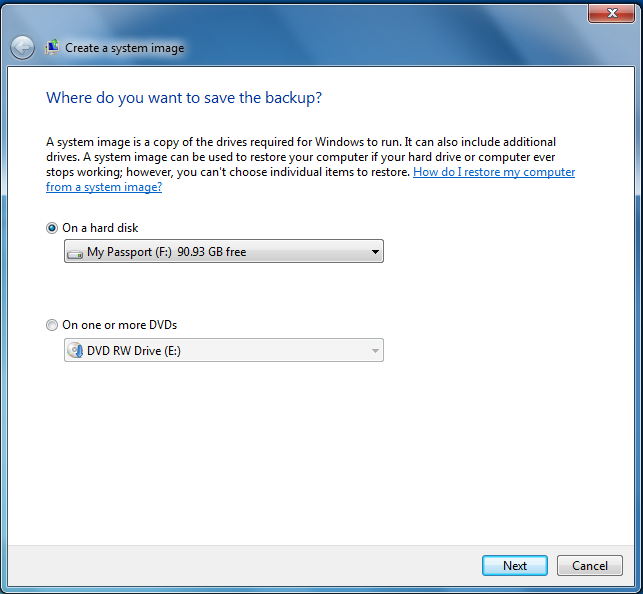
It can take a while for it to discover your drive. Once discovered it will display it under “On a hard disk”. Click this radio button as the hard disk where you want to save the backup. Click next to go to the confirmation window below.
 windows-image-backup/windows-image-backup/
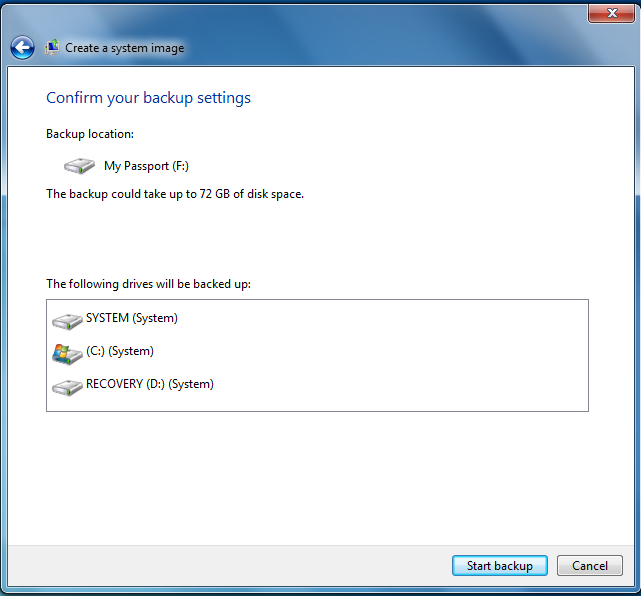
Click “Start backup” button to execute the image backup. Backup can take anything from 15mins to 1-2 hours or more depending on the amount of data. The backup image includes all the drive partitions and can, if necessary, be used to recover to a new drive and get you up and running to the point where you backed up. Vista, Windows 7 and 10 support recovery from a Windows system image file set. Also the image can be mounted as a drive to extract individual files.
Once complete close Backup & Restore.
If you see the Safely Remove Hardware icon ![]() in the notification area, at the far right of the Taskbar, you can use this as an indication that your devices have finished all operations in progress and are ready to be removed. If you don’t see the Safely Remove Hardware icon, click the Show hidden icons button to display all icons in the notification area.
in the notification area, at the far right of the Taskbar, you can use this as an indication that your devices have finished all operations in progress and are ready to be removed. If you don’t see the Safely Remove Hardware icon, click the Show hidden icons button to display all icons in the notification area.
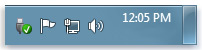
To safely remove a certain device, click the Safely Remove Hardware icon ![]() , and then, in the list of devices, click the drive to remove. Windows will then display a notification telling you it’s safe to remove the device. If this fails the drive could still be in use, e.g. still backing up. If this is the case you just have to wait until the backup is finished or drive is no longer in use. If backup is finished and it still fails to release the drive (Windows legacy bug still not resolved in W10!). In this case the safest way to disconnect the drive is to shutdown the computer and then remove it. You could just remove the drive (in most cases this is OK) but it is worth going the extra mile to ensure you have a valid image backup.
, and then, in the list of devices, click the drive to remove. Windows will then display a notification telling you it’s safe to remove the device. If this fails the drive could still be in use, e.g. still backing up. If this is the case you just have to wait until the backup is finished or drive is no longer in use. If backup is finished and it still fails to release the drive (Windows legacy bug still not resolved in W10!). In this case the safest way to disconnect the drive is to shutdown the computer and then remove it. You could just remove the drive (in most cases this is OK) but it is worth going the extra mile to ensure you have a valid image backup.