Chrome Remote Desktop Client Set Up

- On client PC open Chrome (or New Edge) and log into client Google account
- Browse to Chrome Remote Desktop Set-up page URL below:
https://remotedesktop.google.com - In section titled Set up remote access and click download icon
- In Chrome Web Store click Add to Chrome to add extension
- In Add “Chrome Remote Desktop” dialog click Add extension
- Close “Chrome Remote Desktop has been added” dialog box – optionally click Turn on sync
- In Ready to install dialog box click Accept & Install
- In Open download dialog box to allow extension to open click Yes
- In Account Control click Yes to make change
- In Choose a name box Enter a name for your computer or accept displayed default and click Next
- In Choose a PIN enter new PIN and click Start
- In Account Control click Yes to make change and start host
- In This Device box click bin icon to disable remote connection
- This completes the installation
Allow Remote Connection
- On client PC open Chrome (or New Edge) and log into client Google account
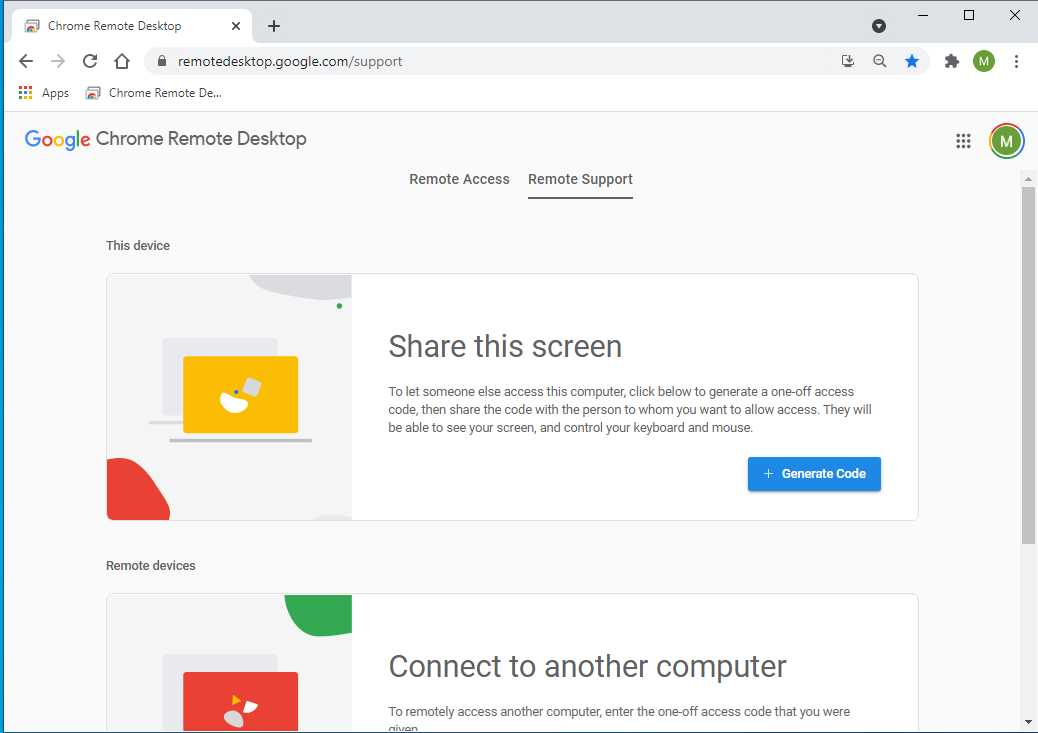
- Browse to Chrome Remote Desktop Support page URL below:
https://remotedesktop.google.com/support
- In Share this screen box click Generate Code to generate a one-time access code
- Give this access code code to the Chrome Remote Desktop user
- In the Chrome Remote Desktop dialog that pops-up click Share to allow Chrome Remote Desktop user access to your screen and PC